
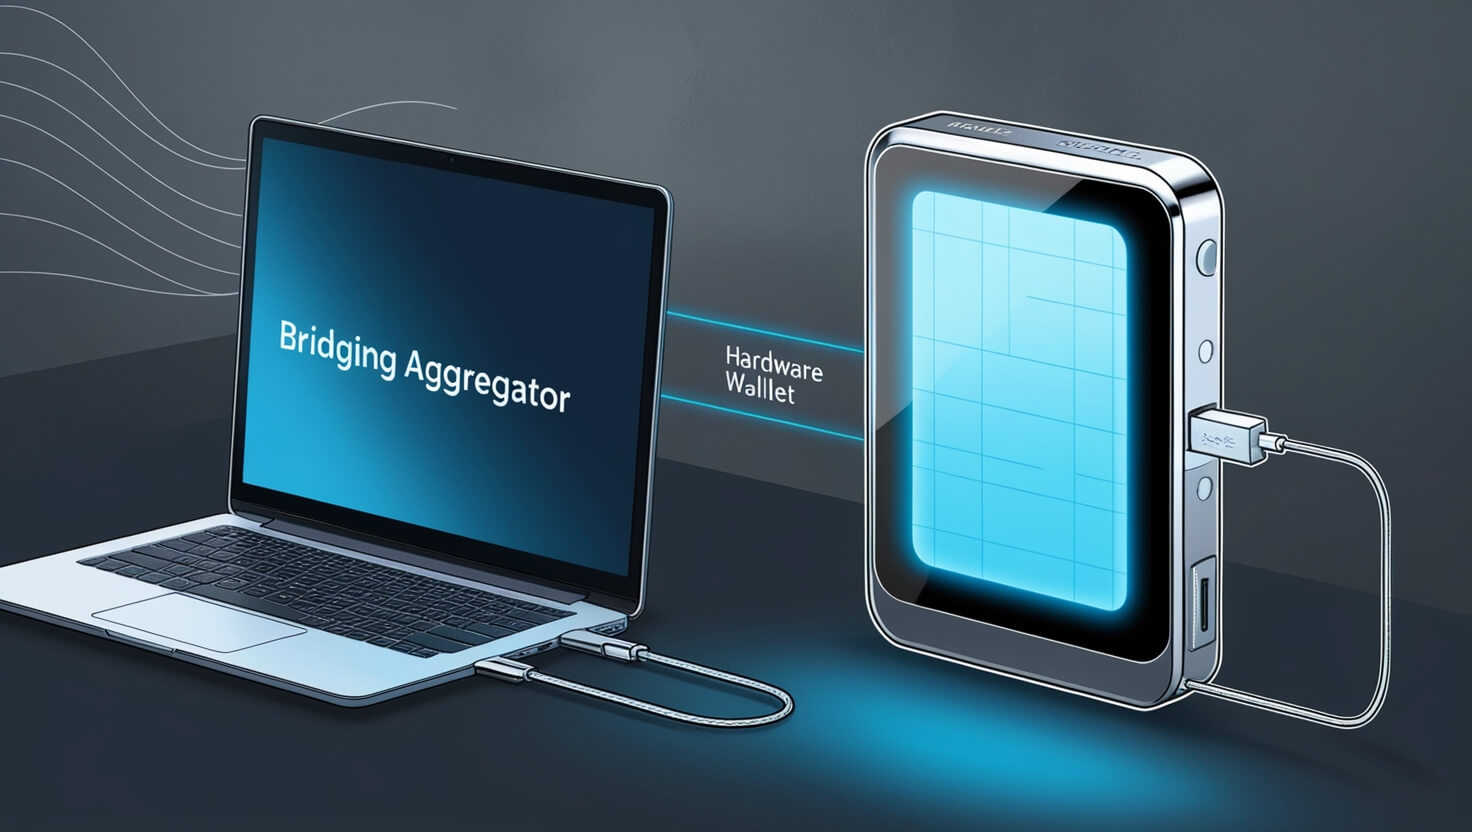
In this article, I will explain the steps on how to connect a hardware wallet to a bridging aggregator.
This is because users need to transfer various types of assets off-chain and on-chain while maintaining their private keys in an offline environment.
The integration of cross-chain bridges with hardware wallets allows users to traverse the decentralized landscape with greater safety and management of their assets, alongside enhanced security.
What is Hardware Wallet?
A hardware wallet refers to a tangible device which stores cryptocurrency securely offline to protect it from hacking or malware.
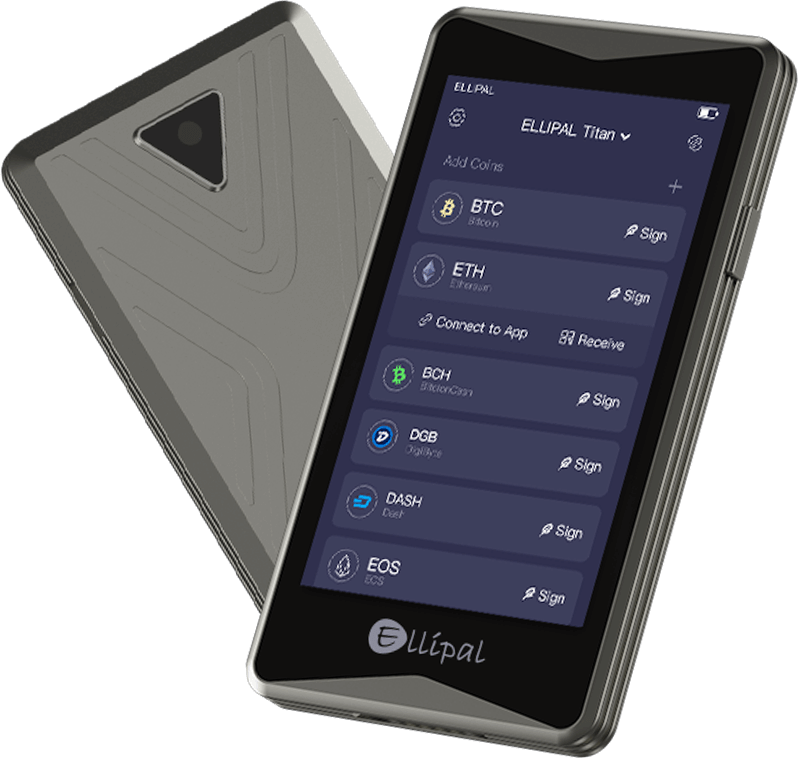
It stores private keys securely which gives it one of the safest options to manage digital assets. Unlike software wallets, hardware wallets are not connected to the internet which reduces exposure to cyberattacks.
Strong security is provided for long-term crypto holders because users connect them to a computer or mobile device to sign transactions.
How to Connect a Hardware Wallet to a Bridging Aggregator Step-by-Step
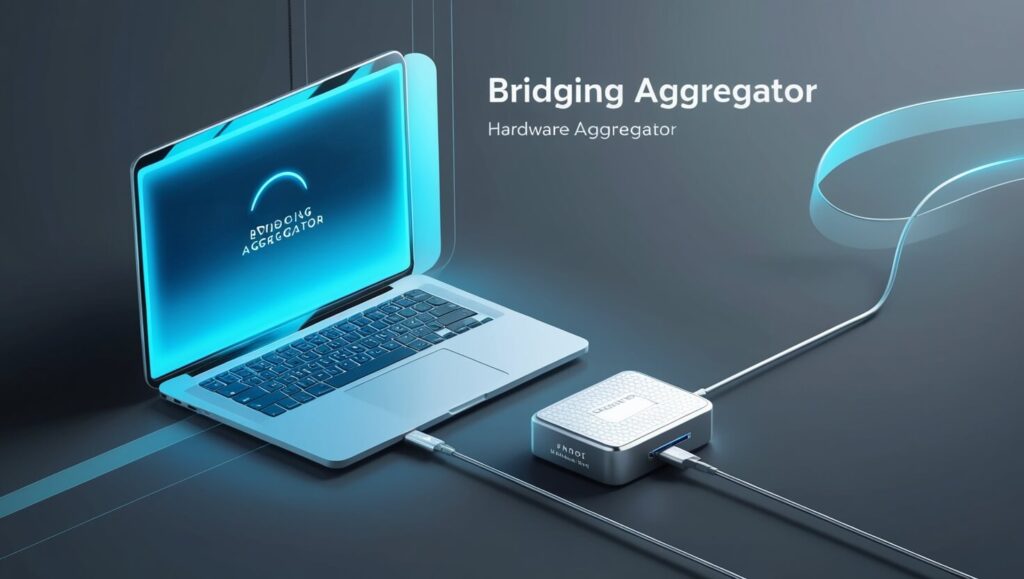
We shall now take a look at how to set up a hardware wallet with the bridging aggregator Bungee Exhchange using MetaMask:
Set Up Your Hardware Wallet
Unbox and configure your hardware wallet (Ledger or Trezor) and ensure it is correctly paired with your computer.
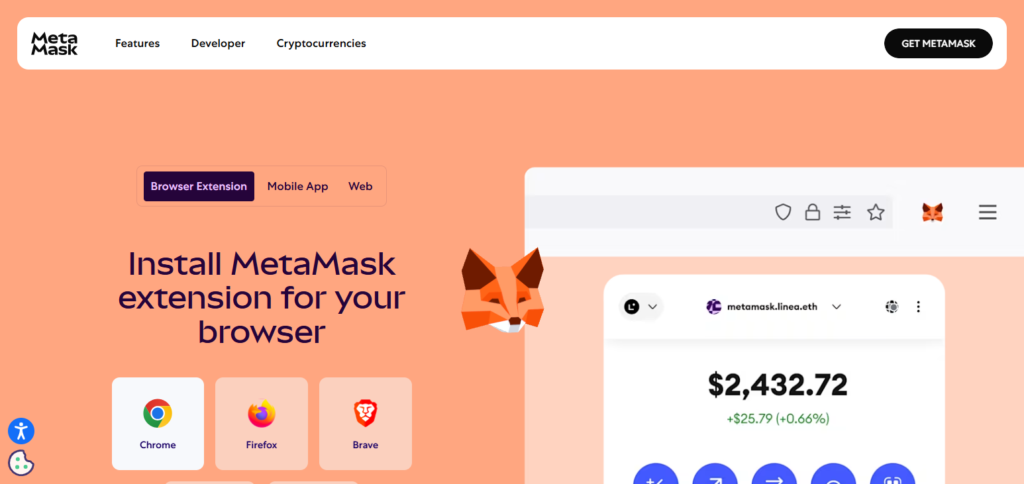
Install MetaMask
If you don’t have it already, add the MetaMask browser extension to your browser and follow the onboarding steps to set it up.
Connect Hardware Wallet to MetaMask
Ensure that MetaMask is open. Click on your account icon.
Select “Connect Hardware Wallet” and select your wallet type, Ledger or Trezor.
Complete the steps to link your hardware wallet to MetaMask.
Visit Bungee Exchange
Navigate the browser and type open the Bungee Exchange website.
Connect MetaMask to Bungee
On Bungee Exchange, select “Connect Wallet” and from the dropdown select MetaMask.
Confirm that you have your hardware wallet account activated in MetaMask.
Select Source and Destination Networks
Select the source blockchain and the destination blockchain you are doing the bridging to.
Choose the Token
Select the token you wish to bridge.
Approve Token Allowance
In MetaMask, approve the token allowance. By doing this, you ensure that Bungee Exchange will be able to access your tokens.
Complete the Bridging Transaction
Check the details of the transaction and confirm the bridging action on MetaMask.
Check the Status of the Transaction
Sit back and wait for the work to be done. You may follow the steps through the Bungee dashboard as well as through a blockchain explorer.
Other Place Where Connect a Hardware Wallet to a Bridging Aggregator
Jumper Exchange
Jumper Exchange allows users to link hardware wallets for secure cross-chain bridging while keeping private keys offline during the transaction.
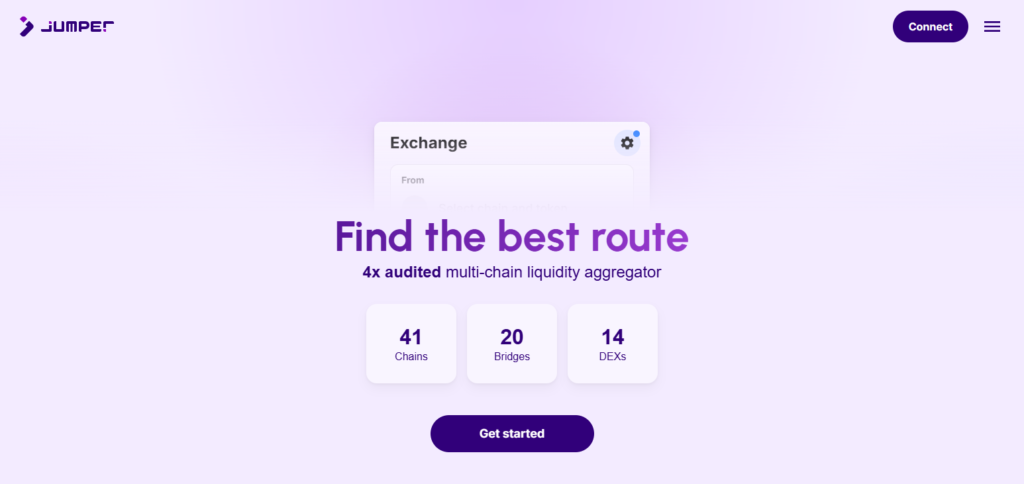
By consolidating 15 bridging protocols and over 30 decentralized exchanges from more than 25 blockchains, Jumper optimizes asset transfers without compromising on security.
Its distinctive merger of hardware wallets with a single unified interface simplifies intricate DeFi procedures, allowing users seamless and secure cross-chain transactions.
Rango Exchange
Rango Exchange offers its users the ability to connect a hardware wallet to it’s cross-chain bridging system to ensure secure transfers of assets across various blockchains.
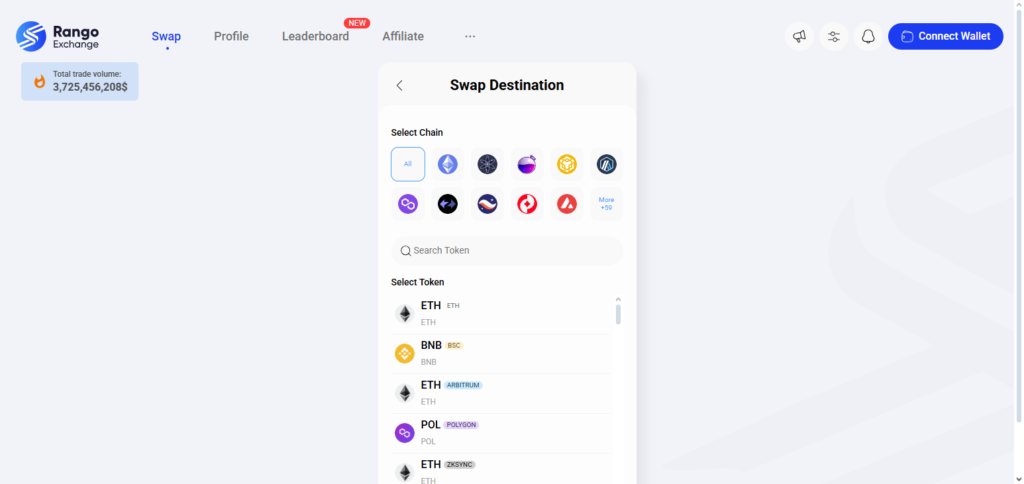
This form of connection improves security as private keys are kept offline during bridging transactions.
Rango’s distinguishing feature is its ability to simplify complicated multi-chain swaps while leveraging the security of hardware wallets with direct integration, appealing to users who need flexibility, and protection simultaneously when transferring assets between networks.
Preparing Your Hardware Wallet
Unbox and Inspect. Check if the packaging is intact and the device has not been tampered with.
Connect to Device. Connect the wallet to your smartphone or computer using the official cable.
Set Up a PIN. Protect the device by creating a strong but easy to remember PIN.
Backup Recovery Phrase. Save digitally and store 12/24-word recovery phrase offline.
Install Firmware. Configure the device to have the most recent official firmware version for maximum security.
Verify Authenticity. Make use of the official app for confirming the genuineness of the device.
Install Wallet App. Get the appropriate wallet application (Ledger Live or Trezor Suite) for asset management.
Test With Small Amount. Deposit a nominal amount of cryptocurrency to check if the wallet works as intended.
Making a Bridge Transaction
Connect Wallet
Attach your hardware or software wallet to the bridging interface.
Select Networks
Identify the blockchains from which the assets will be withdrawn as well as those to which assets will be deposited.
Choose Asset
Select the currency you intend to bridge (for instance, ETH or USDC).
Enter Amount
Indicate the value for the specified transfer across chains.
Review Fees
Ensure gas fees and fees from the bridging protocol are checked.
Confirm Transaction
Sign off on the transaction with your wallet device.
Wait for Confirmation
Permit several minutes for completing the bridging steps.
Verify Arrival
Check that the asset corresponding to the destination chain is in your wallet.
Security Best Practices

Use Hardware Wallets – Keep crypto assets stored offline to minimize the chances of hacking.
Store Recovery Phrase Offline – Keep recovery phrases handwritten and kept sealed in paper; never share, or upload anywhere.
Two-Factor Authentication (2FA) – Provides additional security on exchanges and apps.
Update Regularly – Maintain current, up-to-date wallet software, and firmware.
Avoid Phishing Links – Access through official websites only and verify URLs carefully.
Use Strong Passwords – Make sure that the passwords set for different accounts are unique and complex.
Double-Check All Transactions – Ensure verification for addresses prior to sending funds.
Browser Extensions – Limit these to protect against malicious extensions.
Troubleshooting Tips
Investigate Connections
Check if the cable and port are working properly.
Reboot the Devices
Turn off and then on the computer/mobile and the wallet.
Update the device with the Makes latest Firmware
Download the current firmware from the company’s website.
Download the apps listed directly to Ledger Live and Trezor suite
Only use these applications.
Cache Clearing Procedures
Clear the app cache or delete it and redownload the app.
Use Other Ports or Devices
Try other USB ports and other computers.
Check for Asset and Network Bridge Compatibility
The bridging protocol should work on your asset and network.
Use Other Support Services
The official support for the wallet should be approached if everything else fails.
Pros & Cons
| Pros | Cons |
|---|---|
| Enhanced security for cross-chain transactions | Requires additional setup and technical knowledge |
| Private keys remain offline and safe | Slower transaction approvals due to manual steps |
| Reduces risk of phishing and malware attacks | Limited support on some lesser-known platforms |
| Seamless multi-chain asset management | Bridging fees and gas costs can still apply |
| Ideal for long-term and serious crypto users | Not as convenient for frequent small transactions |
Conclusion
Ultimately, the synergy of security and convenience is incredibly pronounced while using a bridging aggregator with a hardware wallet.
Users can effortlessly traverse different blockchains, while retaining complete control of their private keys. Such integration mitigates the risk of hacks while simplifying the user experience. This allows for improved asset safety which is ideal for secure DeFi interactions.